
Editing and Export
Why Your unDraw PNG Looks Blurry and How to Fix It
Why an unDraw PNG looks blurry and how to fix it: source size versus display size, retina screens, compression, and when to switch back to the SVG original.
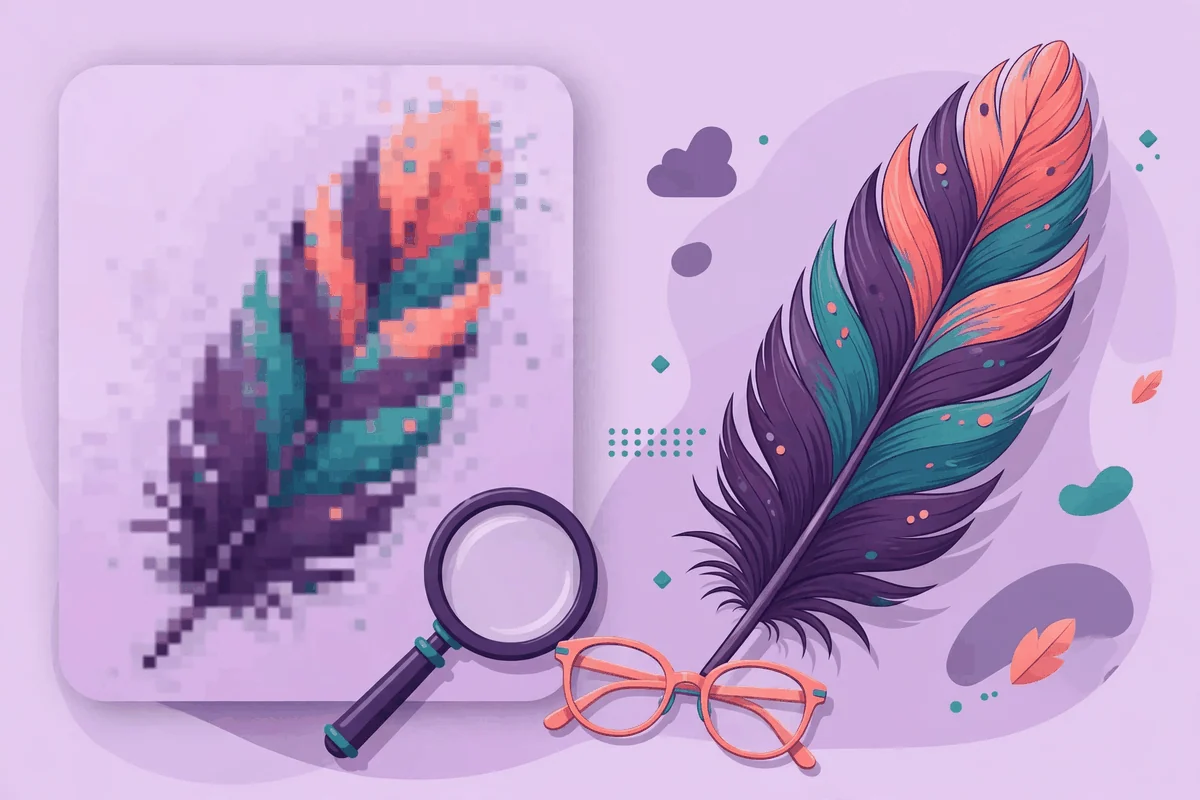
The short answer first: to fix a blurry unDraw PNG, you almost never repair the file you have. You replace it. A PNG is a fixed grid of pixels, and it looks blurry when it is displayed larger than that grid comfortably allows, especially on modern high density screens. The fix is to go back to the source, get more pixels or, better, get the SVG, and place the illustration at a size the file can honestly support. This guide explains how to tell which cause you are dealing with, because "blurry" has several distinct causes and each has its own remedy.
It also explains the one situation where effort is wasted: enlarging a small PNG and re saving it. That process invents no detail. It only spreads the existing pixels over a bigger grid, and the result stays soft.
Why a PNG goes blurry: pixels versus display size
Every PNG has exact dimensions, for example 800 pixels wide and 600 pixels tall. Those pixels are all the information the file will ever have. When the illustration is shown at 800 pixels wide on a standard screen, each file pixel maps to roughly one screen pixel and edges look crisp. Show the same file at 1600 pixels wide and each file pixel must cover four screen pixels. The displaying software interpolates, guessing the in between values, and guesses look soft. Curves and diagonal edges show it first, which is why illustration artwork reveals the problem so clearly.
High density screens raise the bar further. Phones, tablets, and many laptops pack roughly twice as many physical pixels into the same space, and they use them: a slot that is 600 pixels wide in layout terms may be painted with about 1200 physical pixels. An image file with only 600 pixels of width is quietly stretched to fill them, and it looks slightly soft even though nobody "enlarged" it. This is the most common reason an illustration that looked fine on an older monitor looks blurry on a newer device.
The working rule is simple. For crisp results, the file's pixel width should be at least the display width on a standard screen, and about twice the display width for high density screens. Everything in this guide follows from that rule.
| Display situation | Pixel width you want | Practical source |
|---|---|---|
| Shown 500 px wide on a standard monitor | At least 500 px | A normal PNG download is fine |
| Shown 500 px wide on a high density screen | Around 1000 px | A larger PNG export, or the SVG |
| Full width hero on a web page | Often 2000 px or more | The SVG is the honest answer |
| Printed at any real size | Several thousand px, depending on print size | The SVG, converted by the print tool |
Diagnose your blur before you fix it
Four different problems all get called "blurry", and they need different responses. Spend a minute identifying yours.
- Check the file's real dimensions. Open the PNG's properties in your file manager or image viewer and note its pixel width and height. Then note the size at which it is being displayed. If the display size in pixels meets or exceeds the file size, you have found the classic cause.
- Check whether the source was a screenshot. If the "PNG" began life as a screenshot of the unDraw website, its resolution is whatever your screen showed, and it may include compression from the screenshot tool. Screenshots are never a good source for artwork you intend to display at size.
- Check whether it was enlarged somewhere. A small PNG that was scaled up in an editor and re exported is now a big file with small file detail. Its dimensions look impressive and its edges are still soft. Only returning to the original fixes this.
- Check whether a tool shrank it. Some website builders, chat tools, and document apps downscale images on upload, then display them larger than the stored copy. The fix there is to change the tool's size setting or use the SVG, not to keep re uploading the same PNG.
If the file dimensions are generous and the illustration still looks soft everywhere, suspect the display chain instead: a projector at low resolution, a video call sharing your screen, or a PDF exported at low image quality will soften even perfect artwork.
How to fix a blurry unDraw PNG, step by step
- Return to the original illustration on unDraw. Search for the scene again and set the same accent color you used before.
- Prefer the SVG download. The SVG has no pixel grid, so it renders sharply at every size in browsers, design tools, and Microsoft 365 apps. Switching format solves the problem permanently rather than for one display size. Our comparison of unDraw SVG vs PNG explains when each format earns its place.
- If you must use PNG, get the largest practical file. Download the PNG again rather than enlarging the old one. Where an editor is involved, export at the size you need: Inkscape's export panel lets you set the image size in pixels directly, and Figma's export settings let you multiply the scale, with its documentation noting that exports are based on 72 DPI at 1x, multiplied by the scale you choose.
- Place it at or below its honest size. In your page, slide, or document, size the illustration so its display width does not exceed its pixel width on standard screens, and stays near half its pixel width when high density sharpness matters.
- Remove any forced stretching. If a layout stretches images to fill a box, the illustration may be displayed larger than intended regardless of the file. Set the container or the image sizing so the artwork keeps its proportions and its intended size.
- Replace, then verify at 100 percent. Swap the file, view the result at actual size on the best screen you have, and zoom in on a curved edge. Crisp edges with smooth color transitions mean you are done.
If the illustration passes through an editor anyway, that is the moment to fix size properly. The export steps in our guides on editing an unDraw SVG in Inkscape and editing an unDraw SVG in Figma both end with choosing export dimensions deliberately rather than accepting defaults.
A worked example: one illustration, three slots
Abstract rules are easier to trust with numbers attached, so consider one illustration headed for three destinations. The figures below are an illustration of the arithmetic, not a specification of any particular download.
First, the illustration appears in a blog article at 640 pixels wide on the page. On a standard monitor, a PNG at least 640 pixels wide will look clean. On the high density screens most phones and many laptops now have, the same slot is painted with roughly 1280 physical pixels, so a 640 pixel file will look acceptable but not perfectly crisp, while a file of around 1280 pixels wide will look properly sharp. If all you have is the smaller file, the honest options are to display the illustration a little smaller, accept the slight softness, or use the SVG and stop counting.
Second, the same illustration goes into a slide shown full screen. The projected image may be 1600 pixels wide or more, and it is viewed by a room full of people. A web sized PNG that survived the blog will not survive this. The SVG will, effortlessly, which is why presentations are the strongest argument for keeping the vector file as your master.
Third, the illustration is placed in a printed handout at about 10 centimeters wide. Print works in dots per inch rather than screen pixels, and at a typical print resolution that width calls for roughly 1200 pixels of image, comparable to the high density screen case. Once again the SVG sidesteps the arithmetic entirely, because the printer's software renders it at the device's full resolution.
The pattern is the point. Every destination has a pixel appetite, and it grows with display size, screen density, and print. You can feed each appetite individually with carefully exported PNGs, or you can keep the SVG as the master file and let each tool render exactly what it needs.
What does not work, however often it is tried
- Enlarging the PNG and re saving it. The new file is bigger and no sharper. Upscaling spreads existing information; it cannot recover edges that were never captured.
- Sharpening filters. A mild sharpen can make a borderline image look acceptable at small sizes, but it works by adding contrast halos along edges, and on flat illustration it quickly looks gritty. It is a cosmetic patch, not a fix.
- Re downloading the same PNG. If the file was already the standard download and it is still too small for the slot, the same file will be too small again. The variable to change is format or display size, not repetition.
- Converting the PNG to SVG with a tracing tool. Tracing guesses at the shapes from the pixels. On simple artwork it can produce a usable result, but it is a recreation with altered edges and colors, and it throws away the clean original that unDraw already offers as a genuine SVG.
Keeping it sharp in specific tools
On web pages, serve the SVG for illustrations whenever the layout allows. If you serve a PNG, let the browser choose appropriately sized files rather than forcing one small file into every slot, and never let CSS stretch an image beyond its pixel size. Our guide on optimizing unDraw illustrations for faster pages covers the size and weight balance in detail.
In PowerPoint, remember that picture compression reduces the resolution of pixel images in the deck. If slides look soft after you have tidied the file, check whether compression was applied, and prefer the SVG, which is immune to the whole issue. The PowerPoint guide explains the insert and sizing workflow.
In Canva, an uploaded PNG placed large will soften exactly as the pixel rule predicts, while an uploaded SVG stays sharp at any size in the design. If a design exports softly, check whether the placed element was a PNG before blaming the export settings. Our Canva guide covers the upload choice.
In print, treat every PNG with suspicion. Print resolves far more detail than screens, and an illustration that looks fine on a monitor can look plainly soft on paper. Supply the SVG and let the print tool render it, or export a PNG at the full pixel dimensions the print size demands.
Frequently asked questions
My PNG is thousands of pixels wide and still looks blurry. Why?
Check whether it was enlarged from a smaller original at some point. Dimensions alone do not prove detail: an upscaled file has big dimensions and small information. The cure is the same as always: return to the genuine download, or use the SVG.
Is the unDraw PNG download low quality?
No. It is a clean rendering at the size the site produces, and it looks sharp when displayed at or below the size its pixels support. Blurriness appears when a design asks it to cover more area than that, especially on high density screens.
Can I fix the blur by increasing DPI in an editor?
Changing a DPI number without changing pixel dimensions changes nothing on screen; DPI metadata matters mainly for print sizing. What fixes screen sharpness is actual pixel count relative to display size, or switching to the vector file.
Quick checklist
- Compare the file's pixel width with the size it is displayed at.
- Remember high density screens need roughly twice the pixels.
- Never screenshot or upscale; return to the original download.
- Switch to the SVG whenever the destination accepts it.
- If PNG is required, export it at the size the slot demands.
- Verify the final result at 100 percent on a good screen.
Sources and further reading
- Figma Help Center: Export formats and settings for static designs: explains export scales and that exported images are based on 72 DPI at 1x, multiplied by the chosen scale.
- Inkscape Beginners' Guide: Exporting a PNG file: how to set the export area and image size in pixels.
- unDraw license: the terms that apply to the illustrations you download.
- How to export unDraw illustrations with a transparent background: keeping the other export property, transparency, intact.